
Have you ever thought about hidden dangers in your workplace? Risk assessments aren’t just boring checklists, they’re smart plans to keep your team safe and your work running smoothly.
Think of it like making your favorite meal. First, you spot the hazards. Next, you check how risky each one is. Then, you take actions to keep everyone safe.
In this post, I'll walk you through a simple step-by-step guide to making your work environment safer. Ready to take the smart first step? Let's dive in.
Step-by-Step Framework: How to Conduct a Risk Assessment
Risk assessment is all about finding and fixing dangers at work so that people and operations stay safe. Think of it as a simple recipe where you look at hazards, figure out how risky they are, and then take steps to keep everyone protected. Here are four steps to help you set up a solid safety plan.
-
Identify hazards.
Take a good look around your workplace to spot anything that might cause harm. You can walk through the area or use checklists to make sure you don’t miss any details. For example, think about the story of Marie Curie, who once carried test tubes with radioactive material without knowing the risks. This shows how important it is to find potential dangers early on. -
Assess the likelihood and impact of each hazard.
Now, consider how likely it is that something bad might happen and how serious it could be if it does. A simple way to do this is to use a basic risk chart to rate risks as low, medium, or high. This process helps you know which risks need your immediate attention. -
Determine and implement control measures.
Next, decide on the best ways to lower risks. This might mean removing the hazard altogether, changing the way you work, or using protective equipment. Choose the method that works best while keeping to current safety rules. -
Review and monitor controls regularly.
Finally, make sure you keep checking your safety measures to see if they’re still working well. Since workplace activities can change, it’s smart to set specific dates to review the risks again. That way, you stay on top of safety rules and protect everyone in the workplace.
Pre-Assessment Preparation for a Risk Assessment

Before you dive into a risk assessment, take a moment to get organized. Start by setting clear goals and figuring out what you need, think of it like getting ready for a play, where every actor has a defined role to make the show run smoothly.
Take a close look at the tasks and activities in your workplace. Check out past incident reports to spot any recurring problems or hazards you might have missed before. For example, a tiny spill that turned into a slip risk can teach you a lot about what to watch for. This history helps you build a smarter plan.
Next, review all the rules and regulations that apply. Make sure you understand which standards matter to your work and what you need to do to follow them. It’s a good idea to put together a team that mixes different points of view, risk managers, safety officers, and other experts all add something important to the discussion.
It also pays to set up clear evaluation steps right from the start. You might create a checklist or a simple survey to cover the essential safety points in your area.
| Step | Action |
|---|---|
| 1 | Define the scope and available resources |
| 2 | Collect information and review past reports |
| 3 | Review the relevant rules and standards |
| 4 | Bring together a diverse team of experts |
By planning carefully and involving the right people from the very start, you're setting yourself up for a solid and successful risk assessment.
Identifying and Classifying Hazards in Risk Assessment
Start by taking a good, slow walk through your workplace. Look at every spot to catch any hazards before they lead to accidents. For example, check if there are old machines on the production floor or cluttered pathways that could cause someone to trip.
Next, have a chat with your team. Ask simple questions like, "What issues have you noticed during your shifts?" Sometimes, someone might say, "I once saw a small valve leak that we all ignored, but it could have turned dangerous." These honest exchanges help uncover risks that you might miss just by walking around.
Keep your eyes open for problems coming from both inside and outside the workplace. Inside, you might face issues like broken equipment, chemical spills, or faulty wiring. Outside, there might be risks like cybersecurity problems that can affect your digital systems.
Then, sort these hazards by their source, how serious they are, and who might be affected. You can break them down into groups like this:
| Hazard Category | Example |
|---|---|
| Equipment issues | Malfunctioning machines |
| Chemical exposure | Accidental spills |
| Cybersecurity vulnerabilities | Outdated software |
Finally, rank these hazards by their severity, low, medium, or high, and note which employee groups or customer segments could be impacted. By doing this step-by-step, you’re using a proven method to figure out what needs attention first and how to keep everyone safe and sound.
Evaluating Risks: Likelihood and Impact in a Risk Assessment
When you set out to see how risky something is, start by asking two simple questions: How often might this happen and what might happen if it does? This part is all about giving each hazard a score by thinking about both how often it might occur and how bad the result might be. You can use words to describe the risk, numbers, or a mix of both. For example, someone might say, "I nearly tripped on that loose tile last week. It felt like a medium risk because it could have caused a serious fall." Even small risks need to be clearly understood.
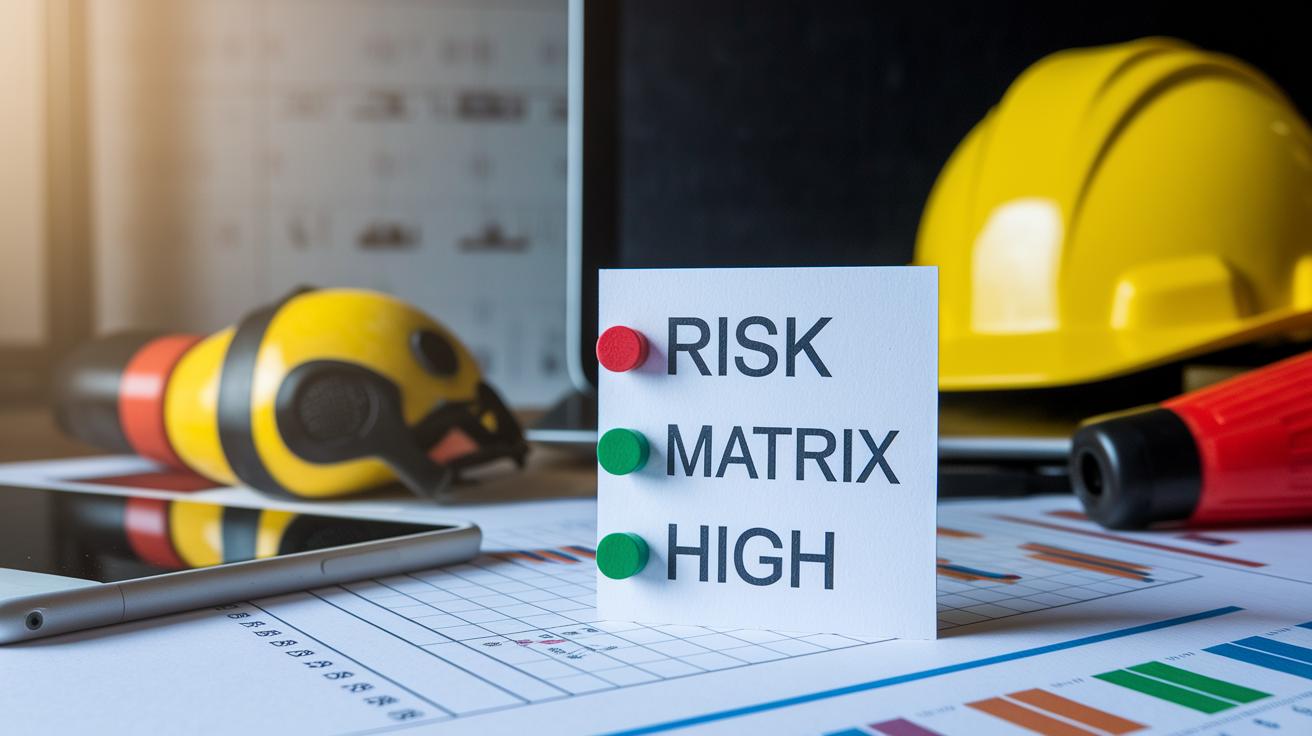
A risk matrix can make it easier to see the balance between how likely an event is and how severe its impact might be. Imagine a simple 3×3 table where each risk is labeled as Low, Medium, or High. This table can help you decide which hazards need an immediate fix and which ones you should keep an eye on. One practical method is to give a number to each risk factor, 1 for low, 2 for medium, and 3 for high, both for how likely it is and how bad the outcome could be, then multiply these numbers. The final score tells you which hazard is the most urgent.
| Low Impact | Medium Impact | High Impact | |
|---|---|---|---|
| Low Likelihood | Low | Low | Medium |
| Medium Likelihood | Low | Medium | High |
| High Likelihood | Medium | High | High |
Using a straightforward table like this can really boost your confidence when you're weighing risks. It keeps everything simple and helps you see which issues need immediate attention.
Implementing Control Measures in Your Risk Assessment
After spotting risks, the next step is figuring out how to manage them. Start by checking the hierarchy of controls. First, try to remove the hazard completely. If that’s not doable, consider engineering controls that adjust the setup or the process to lower the risk. For example, if a machine is dangerous, you might add a safety guard or swap out an old tool for a newer, safer one.
Then, think about administrative controls. These are changes in work rules or procedures that help everyone stay safe. This might include setting up monitoring systems and clear safety guidelines. For example, you could update work practices or offer training so everyone knows the safest way to work. A tool called Job Safety Analysis (JSA) breaks down tasks to spot potential injury risks before they happen.
Sometimes, removing the hazard or changing the process isn’t possible. In these cases, personal protective equipment (PPE) is your backup. This can mean providing items like gloves, masks, or safety glasses.
You might also want to use frameworks such as Failure Mode and Effects Analysis (FMEA). This method helps you look ahead and plan for situations where control measures might not work as expected.
Recording and Reporting in Risk Assessment

Keeping accurate records is key to a safe and compliant workplace. Start by writing down every hazard, the risk level, and the control measures you put in place. If your business has more than five people, this record is a legal must.
Stick to a standard form to keep everything clear. For example, use a template to note the date, describe the hazard, list risk scores, and record control steps. Imagine after a slip incident, you jot down the steps taken to fix it and note that extra training was scheduled. This clear record works well during audits and helps you meet regulations.
Organize your records so you can review them later. Good documentation not only helps you make smart decisions but also keeps everyone informed about the risks and the actions taken. When you write your reports, be sure to describe the incident and the steps you took carefully. Sharing these reports with the right people boosts transparency and prepares your organization for any reviews.
Follow these simple steps:
- Record every finding in a clear register.
- Use a standard template.
- Inform staff immediately about any corrective measures.
Continuous Monitoring in Risk Assessment Processes
Regular check-ups on your risk assessments help keep everything safe and effective. It’s a good idea to review your safety measures often so you can pick up on any shifts in risk, whether that’s from new equipment, changes in how work is done, or updated rules. Setting a specific review date, like once a year or even sooner in high-risk areas, makes sure your controls stay sharp and up-to-date. For instance, imagine scheduling a check after introducing a new process, this way, any unexpected hazards get taken care of quickly.
A smart move is to get your team involved in watching for risks. When everyone feels comfortable reporting changes or potential issues, risk monitoring becomes a team effort. Sometimes it can be as simple as asking staff to complete a brief survey about any safety concerns they notice during their shifts. Offering short training sessions on spotting new hazards not only sharpens skills but also helps everyone stay alert.
Mixing quick check-ins with more in-depth reviews creates a steady routine that boosts overall safety. This approach builds a proactive culture where everyone is engaged and aware. Regular internal updates and ongoing training sessions help make sure your workplace stays both safe and compliant.
Advanced Tools and Techniques for Risk Assessment

Advanced risk assessment isn’t just done with paper and pen. Today, we use modern tools that help spot hidden dangers with clear precision. Instead of relying only on old hazard methods, you can try Fault Tree Analysis (FTA), which is a way to break down and show the root causes behind problems. For example, one time someone used FTA to figure out why a machine unexpectedly shut down. They discovered that a small sensor problem could start a domino effect of issues.
Digital tools make a big difference here. Cloud-based flowcharts and mapping software let teams work together in real time. Imagine drawing a simple map on a shared screen where everyone sees each update right away. Automated scoring systems also turn complicated numbers into easy-to-read risk scores, so you know which hazards to fix first.
Other methods include Hazard and Operability Study (HAZOP) to carefully check your processes and Failure Mode and Effects Analysis (FMEA) to see how different issues might change outcomes. These tools let you look at risks from many angles, ensuring nothing is missed. Plus, advanced digital security reviews add an extra step to spot weaknesses before they grow into serious problems.
- Fault Tree Analysis (FTA): Helps you find the basic causes behind system failures.
- Hazard and Operability Study (HAZOP): Great for taking a close look at complex processes.
- Failure Mode and Effects Analysis (FMEA): Useful for checking potential problems in new designs.
- Digital Collaborative Mapping: Perfect for working together on risk assessments in real time.
- Cloud-Based Flowcharts: Handy for keeping risk visuals up to date with continuous monitoring.
Final Words
In the action, we broke down the core steps, from setting up the evaluation environment to identifying hazards, measuring their impact, and introducing control measures. We covered how to track findings and stress continuous monitoring to keep safety practices up to date. Every step of the framework shows how to conduct a risk assessment effectively, making it easier to plan and make smarter decisions. Moving forward with these clear tactics can boost confidence and help foster ongoing improvements in health and safety efforts.
FAQ
A: The risk assessment template guides you through identifying hazards, evaluating risks, implementing controls, and recording actions. It often comes as a PDF or worksheet that simplifies workplace risk evaluation.
A: The risk assessment in the workplace involves listing potential hazards, assessing their risks, applying control measures, documenting the findings, and reviewing them regularly to keep the environment safe.
A: The 5 step process means you pre-assess the situation, identify hazards, evaluate risks, implement control measures, and then continually review and update the controls to maintain safety.
A: The risk assessment should be conducted by safety or management teams, or a trained expert who understands workplace hazards and knows how to evaluate and control risks effectively.
A: The 3 C’s focus on control, communication, and continuous review of risks. They ensure that hazards are managed, findings are shared, and safety measures are regularly updated.
A: The 5 R’s outline a method where you recognize risks, remove hazards, reduce potential impacts, report issues, and review the practices to keep improving safety.
A: The 5 examples include checking equipment safety, evaluating chemical handling, inspecting fire safety measures, reviewing cybersecurity protocols, and assessing ergonomic setups in workstations.